Introduction to Photeeq Lens Flare
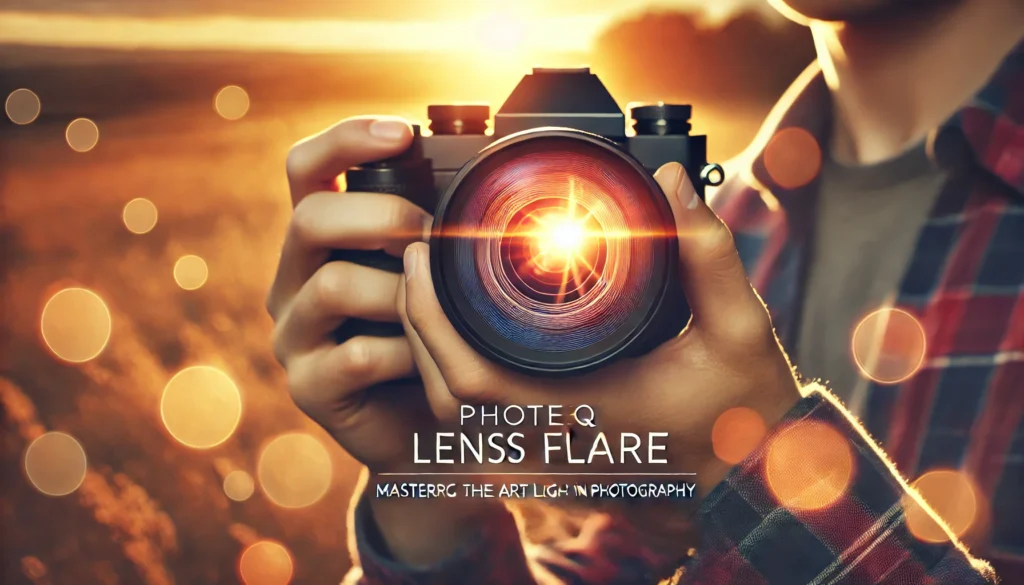
Ever scrolled through photos and wondered how some images practically glow with atmosphere? Chances are, focal point flare played a portion in that enchantment. One of the best-kept insider facts within the photographer’s toolkit is the Photeeq Lens Flare effect. Whether you’re shooting representations, scenes, or inventive ventures, this device can breathe life into any photo. Prepared to memorize how to use it like a master?Let’s plunge in!
What is Lens Flare?
The Science Behind Focal point Flare
At its center, focal point flare happens when shinning light hits your camera focal point and scrambles inside, creating astonishing streaks, circles, or gleaming impacts. Think of daylight bouncing interior a glass crystal. Whereas a few picture takers attempt to maintain a strategic distance from it, others intentioned utilize it for dazzling creative comes about.
Different Types of Lens Flare
Not all lens flares are created equal! Let’s break down the main types:
Circular Flares
These are the classic round reflections you often see—think bright, translucent orbs sprinkled across an image.
Polygonal Flares
Ever noticed flares shaped like hexagons or octagons? These shapes reflect the aperture blades inside your lens.
Veiling Glare
This one’s more subtle—like a soft haze or glow washing over part of your photo, reducing contrast but adding moodiness.
Photeeq: The Magic Tool for Lens Flares
Overview of Photeeq Software
Enter Photeeq, an intuitive photo editing software known for its specialized lens flare effects. Unlike complicated editing suites, Photeeq simplifies the process while offering endless creative possibilities. Whether you’re a newbie or a seasoned pro, Photeeq makes adding flares a breeze.
Key Features of Photeeq Lens Flare Effects
- A library of pre-designed lens flare templates.
- Drag-and-drop functionality—super beginner-friendly.
- Customizable settings for brightness, color, angle, and size.
- Non-destructive editing, so your original photo stays intact.
Why Use Photeeq Lens Flare?
You might be asking: “Why bother adding lens flares at all?” Great question!
Adding Depth & Atmosphere
Lens flares can right away make level pictures pop, including layers and profundity that draw the viewer’s eye.
Making a Cinematic See
Ever observed a motion picture scene soaked in brilliant light? Executives regularly utilize focal point flare for that cleaned, cinematic vibeâand you’ll accomplish the same impact in your photographs.
Improving Visual Narrating
Photographs tell stories, and focal point flares act like highlighters emphasizing key emotionsâbe it warmth, sentimentality, or puzzle.
How to Apply Lens Flares Using Photeeq
Ready to try it yourself? Here’s your easy-to-follow guide:
Step-by-Step Guide
Step 1: Import Your Image
Fire up Photeeq and upload your photo. It works with most file formats, so no fuss.
Step 2: Choose the Right Lens Flare Template
Browse through the software’s curated lens flare gallery. Whether you’re after sun streaks or soft glows, there’s a template for every mood.
Step 3: Adjust Brightness & Color
Use the sliders to tweak the brightness and color tones. Warm gold, icy blue, fiery red—the choice is yours!
Step 4: Fine-tune Positioning & Size
Drag the flare to the sweet spot in your image. Resize it to ensure it complements rather than overpowers.
Step 5: Export the Final Image
Once you’re satisfied, save your masterpiece in your preferred format—ready to share with the world!
Common Mistakes to Avoid with Lens Flares
Like any editing tool, it’s easy to go overboard. Watch out for these pitfalls:
Overdoing the Effect
Too much flare = chaos. Subtlety is key. A little light goes a long way.
Wrong Placement
Lens flares should mimic real light sources. Random placement can break immersion.
Clashing Colors
If your photo has cool tones, throwing in a bright orange flare might look jarring. Match the color palette!
Pro Tips for Using Photeeq Lens Flares Like a Pro
Keep It Natural
Ask yourself: “Would light naturally hit the lens this way?” Keep it believable.
Match Lighting Direction
Adjust the flare along with your photo’s existing light source-whether it’s the sun, a light, or window light.
Experiment with Blending Modes
Photeeq lets you adjust blending settings. Play around! Sometimes switching to ‘soft light’ or ‘overlay’ can work wonders.
Conclusion
So there you’ve got it! Photeeq Lens Flare isn’t fair a computerized trickit’s capable narrating device. Whether you’re shooting sunlit representations or marvelous scenes, a well-placed focal point flare can raise your work from great to breathtaking. Remember: light is your playground, and Photeeq gives you the keys. Ready to add that magical glow to your photos?
FAQs About Photeeq Lens Flare
1. Is Photeeq Lens Flare beginner-friendly?
Absolutely! The software’s drag-and-drop interface is super natural, idealize for tenderfoots and stars alike.
2. Can I customize lens flares in Photeeq?
Yes! You can adjust brightness, size, color, and placement to suit your photo’s vibe.
3. Does Photeeq work on both Windows and Mac?
Yup, Photeeq is compatible with both platforms.
4. Will using lens flare reduce my photo’s quality?
Not at all. Photeeq offers non-destructive editing, ensuring the original quality remains intact.
5. Can I use Photeeq lens flares for commercial projects?
Definitely! Once you’ve got the software, you’re free to use your edited photos however you like—including commercial use.